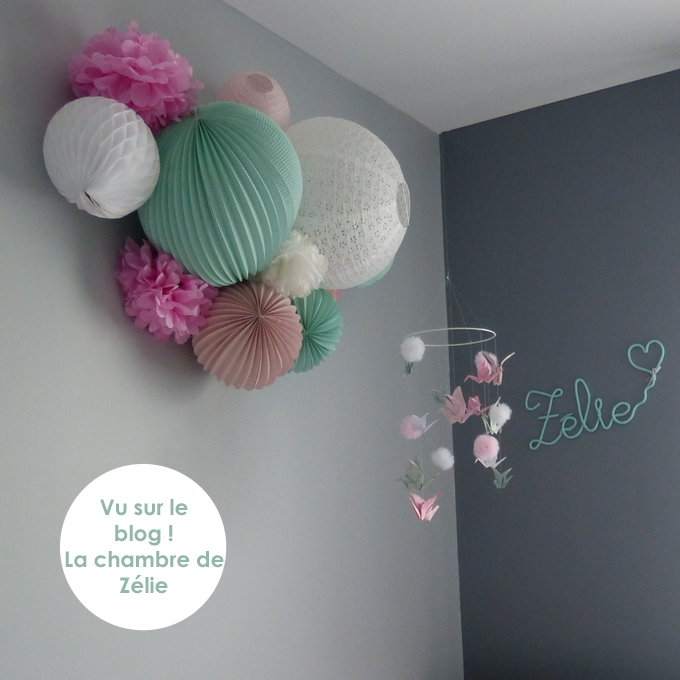
Decorating your baby's nursery with paper lanterns
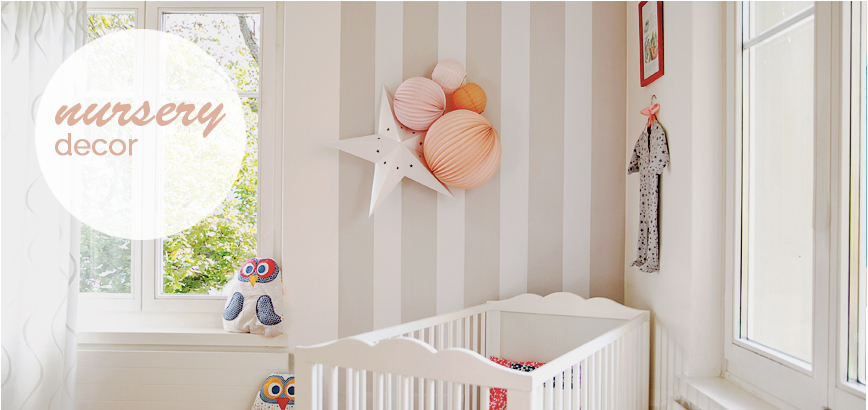
Are you expecting a bundle of joy and looking to add a super sweet little something to her nursery's decoration?
Here are some ideas and tips to create a beautiful grouping of paper lanterns for your nursery or playroom.
What types of paper lanterns ?
What types of paper lanterns, honeycomb balls or pompoms are best for your kids’ bedroom or nursery?
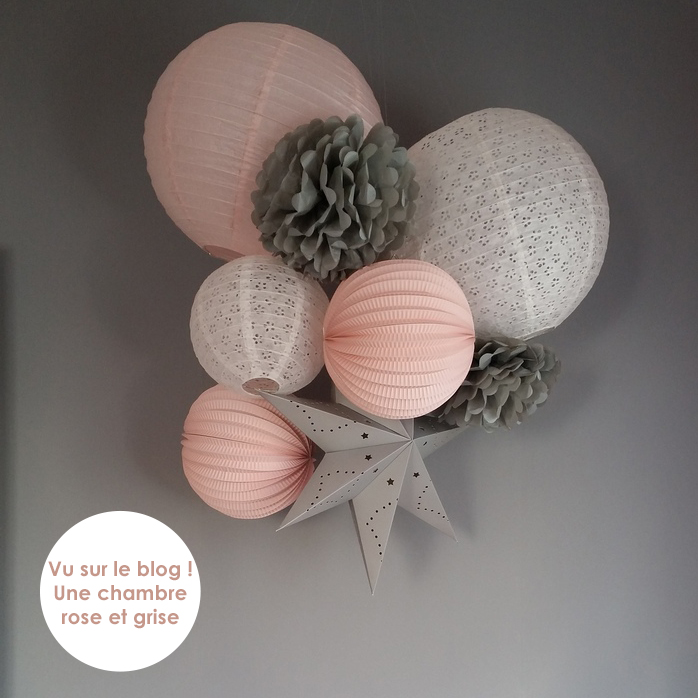
To create a unique piece of décor, we love to mix and match different styles and sizes of paper lanterns.
- paper lanterns 35cm /large accordion paper lanterns: these are ideal to start your paper lanterns grouping as they will stand out as the main piece of the whole ensemble. You will hang this piece first and compose the grouping around it.
- Smaller decorations: to complete your grouping nicely, you can use 2 to 3 (or more) small accordion paper lanterns, paper lanterns 15cm and 20cm, honeycomb balls or drops 12cm and 20cm. Arrange them so that they give balance to the grouping.
- Paper tissue pompoms: they are just perfect to nicely finalize a paper lanterns set, adding lightness and volume. You can use a large pompom to fill in a blank space and smaller pompoms to hide some strings or the hook if you hang the lanterns on the wall.
- A star lantern: these can be used for a final whimsical touch, according to what you envisioned and your budget.
Click on the photos to learn more about the products !
How many paper lanterns/elements should you get for your nursery?
For a pretty and well-balanced grouping of paper lanterns to hang on the wall, you should get from 5 to 7 statement pieces. You can complete the look with a few other smaller lanterns or pompoms if you feel like it.
Click on the photos to learn more about the products !
Your color palette
You probably already chose a range of beautiful colors for your nursery décor, and maybe a specific theme. Whether it’s pastel shades, neutral, jungle or a princess theme, each element will help you choose the right color combinations of paper lanterns to complement your design.
For a neutral or lighter hue nursery, you could go for an equally neutral palette using our white, latté, vanilla, meringue or café au lait shades, or make a statement and choose bright colors like our blush or electric pink.
If the room has one painted wall, you could use that color as a base for a broader palette, using lighter or darker shades, or you could also contrast with some white or neutral color.
If you need to decorate a shared bedroom, using different palettes of lantern groupings is a great way to differentiate a boy’s world and a girl’s world.
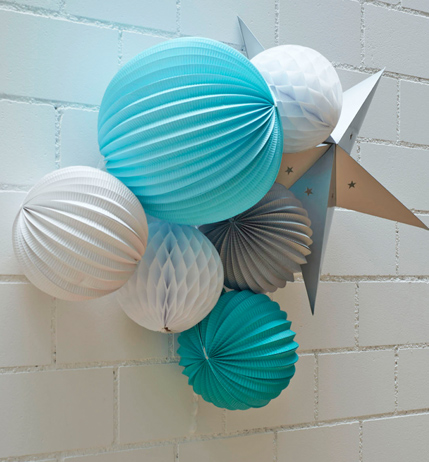
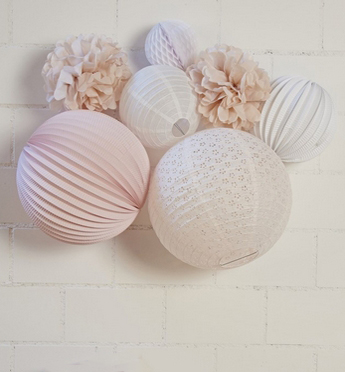
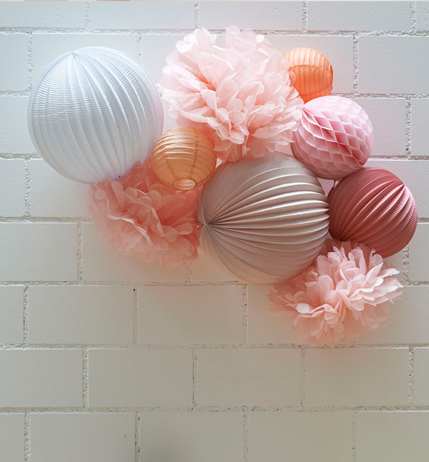
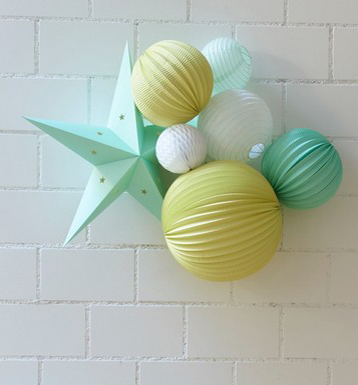
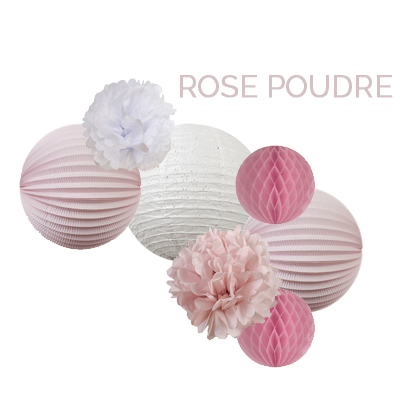
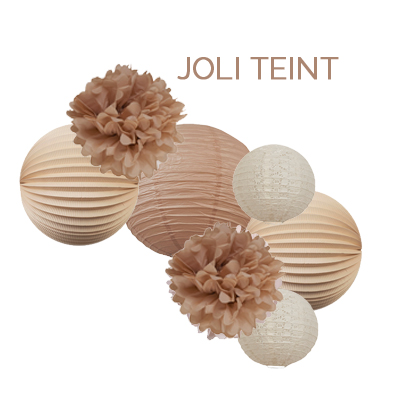
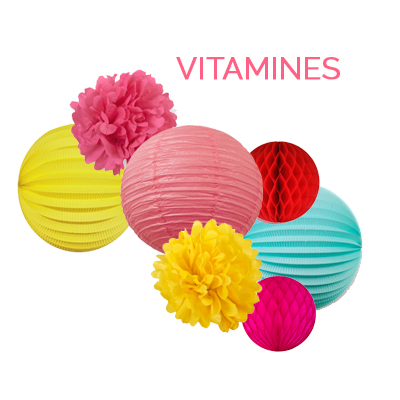
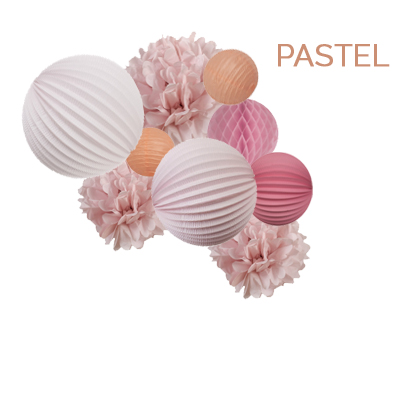
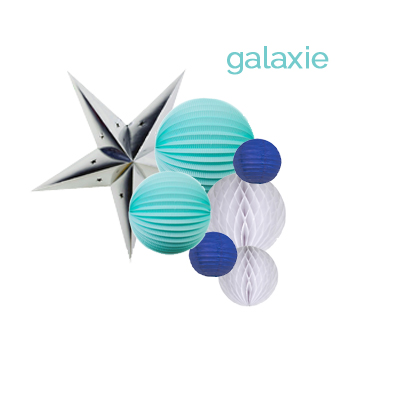
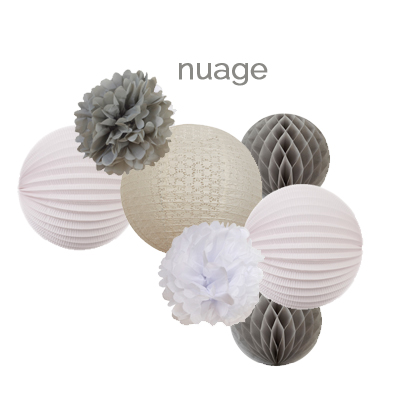
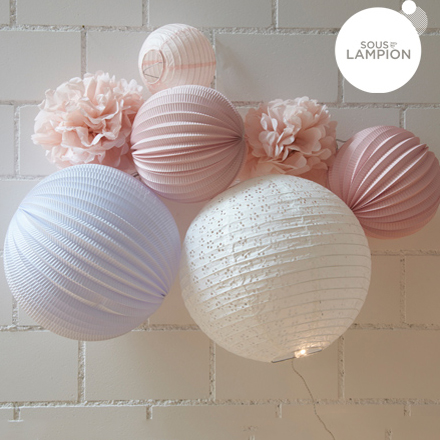
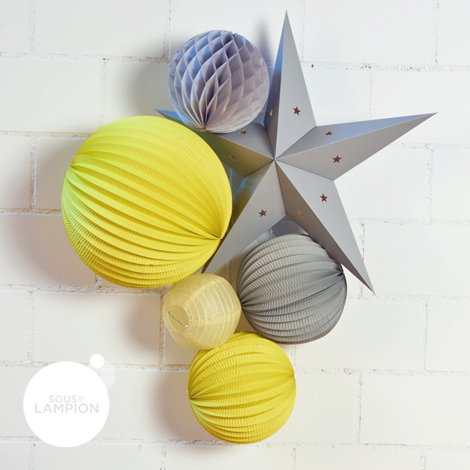
Here are some color palettes we love, click on the photos to learn more about the products !
Dreaming of a pretty grouping of lanterns that is ready to hang without any fuss?
Check out our PAPER LANTERNS KITS!
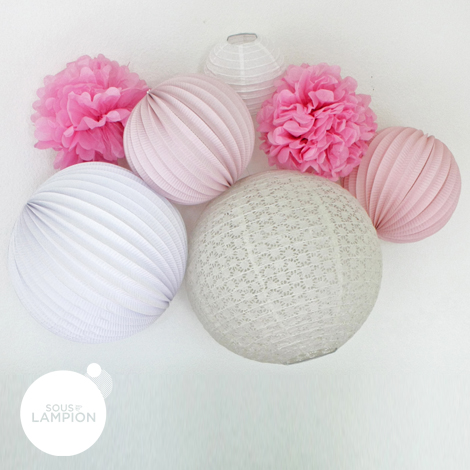
Our paper lanterns kit “Louise” features a beautiful and romantic combination of seven lanterns and pompoms in soft pinks and whites including the exquisite Vintage Rose hue, a perfectly dreamy Under the Paper Lantern exclusive. The kits include everything needed to hang this grouping on the wall: hook, nail and string along with simple instructions for creating the desired look.
And you can complete our kit with another lantern or pompom!
Find all our paper lanterns kits here >>>
How to easily hang your lanterns
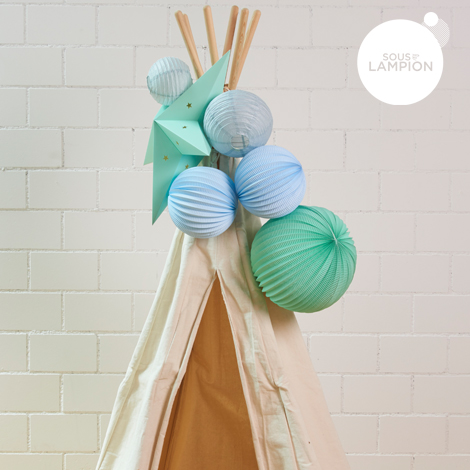
If you want to decorate a room with paper lanterns you have numerous options available. You can use the room’s structure or main features: a beam, a window, bunk beds, a teepee tent…but you can also hang your lanterns, nicely grouped together, directly on the wall.
Hanging your lanterns on the wall
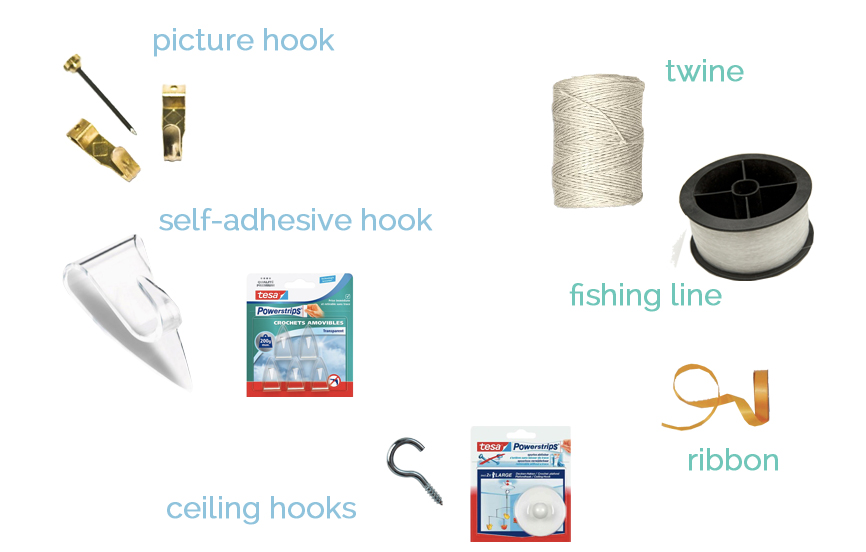
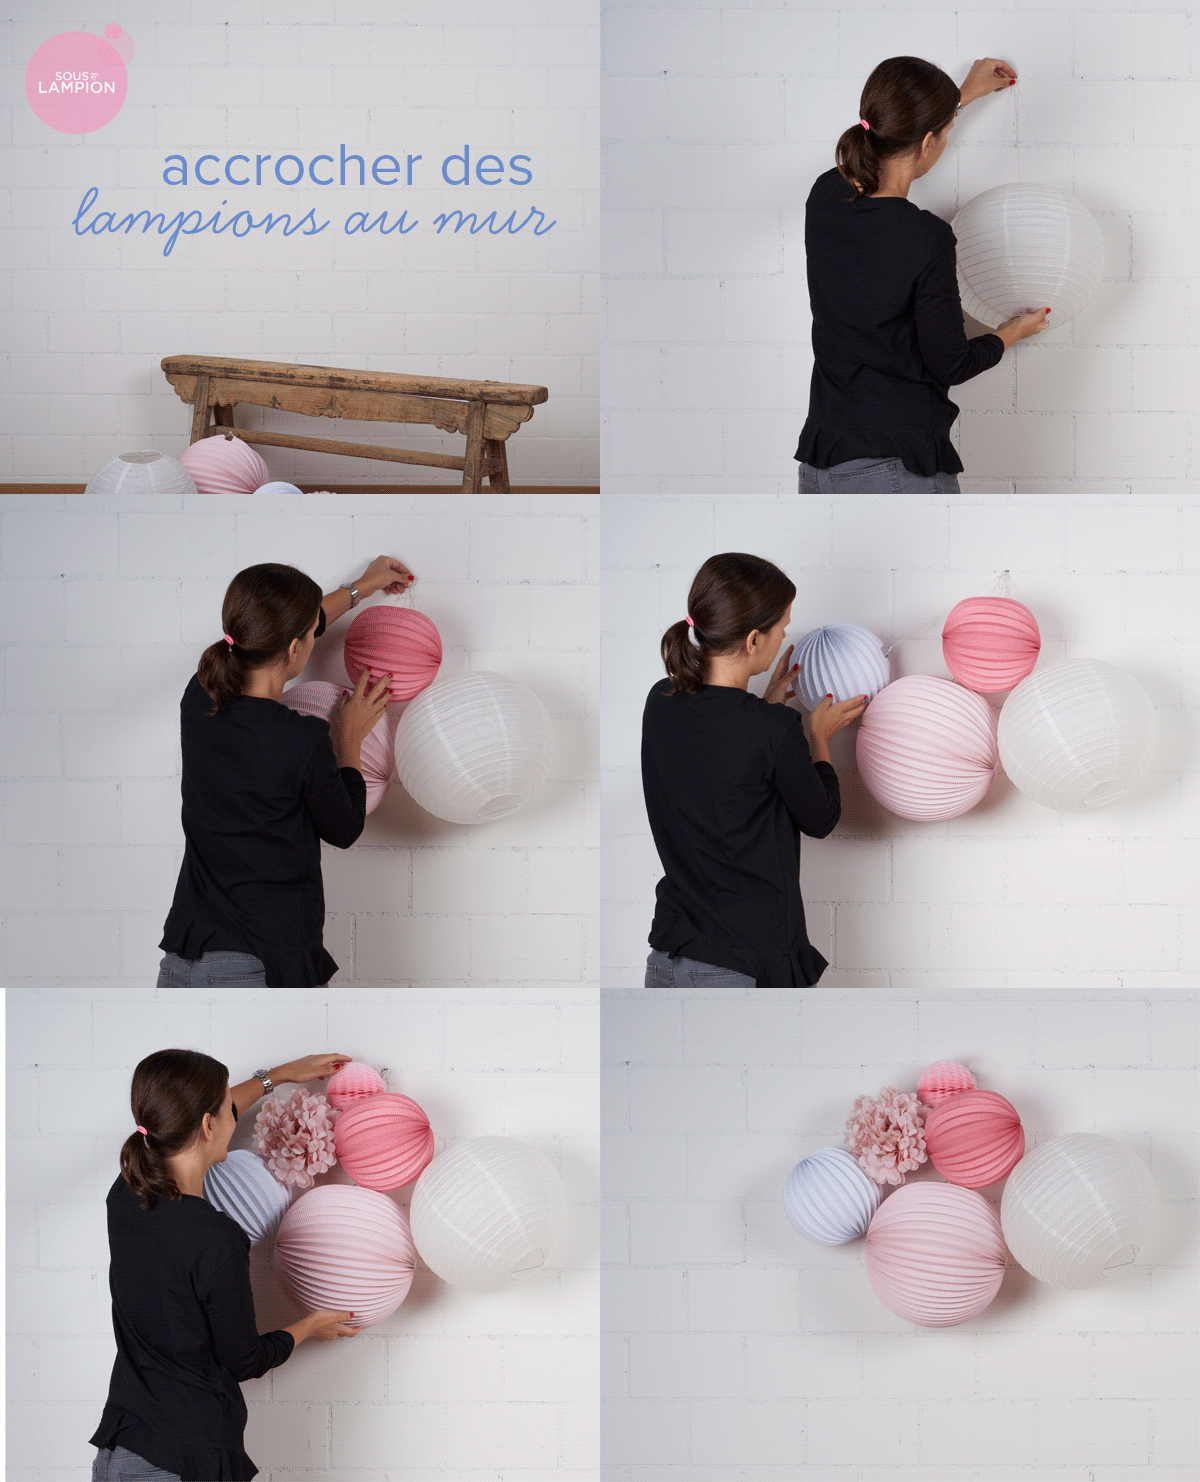
We’re all about hanging a nice bunch of 5 to 7 lanterns, pompoms and honeycomb balls on the wall. The easiest way is to use a picture hook that nails into the wall. You can then hang the lanterns at different heights using fishing line, string or ribbon. For a bigger bunch of lanterns, we recommend you use two hooks placed a few inches apart. You can also use self-adhesive hooks from which you can easily hang 5 to 6 small to medium sized lanterns. The advantage to adhesive hooks is that they can be removed without leaving marks.
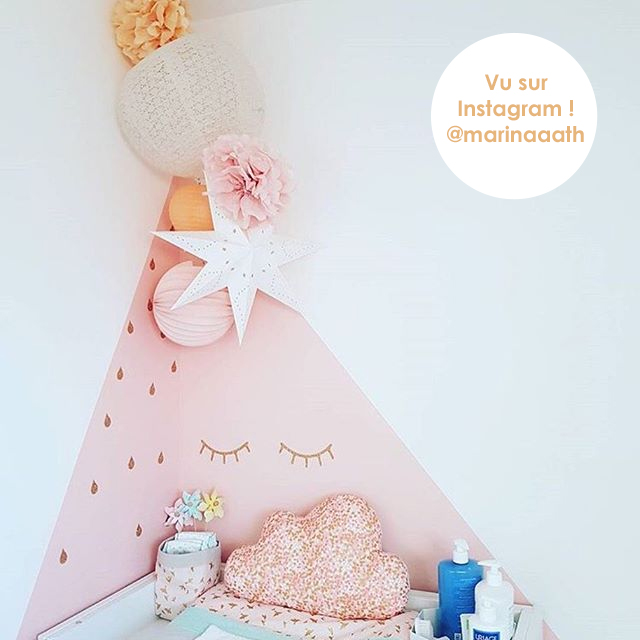
A great spot for hanging a cluster of lanterns is the corner of a room. The best method here is to nail the hook on one of the two walls, and to fix each lantern at a different height.
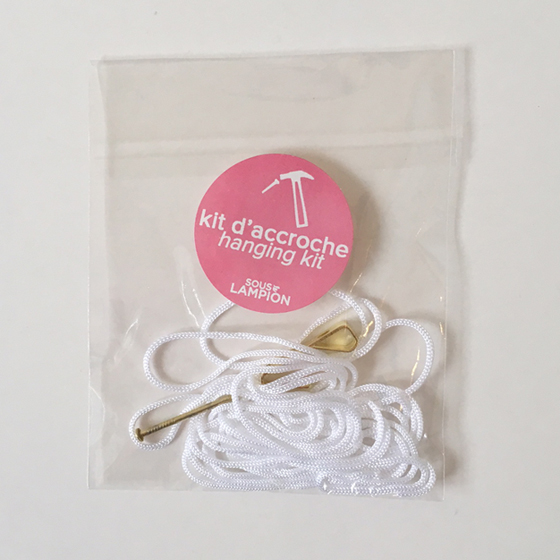
We have a hanging kit available for sale individually on our site: it includes a small chalkboard hook with nail to nail on the wall and 2.50m cord. Simply cut one length of cord for each element and hang them one after the other on the hook nailed to the wall at different heights. This kit is included in all our paper lanterns kits.
A paper fans wall
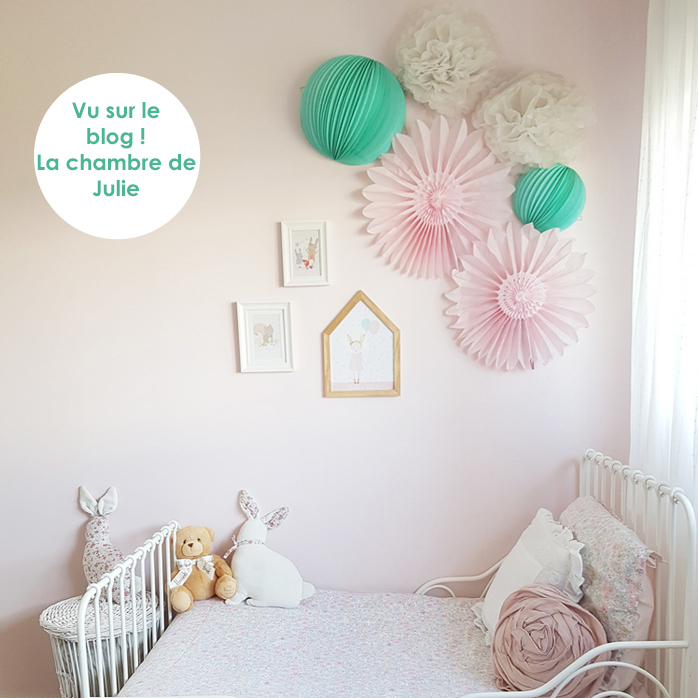
Another amazing idea to add a pop of color to a plain wall is to use our paper fans in different shapes and sizes to create a colorful backdrop. Each of our paper fans has a small string that makes them super easy to fix directly on the wall with a pin or some masking tape.
With light?
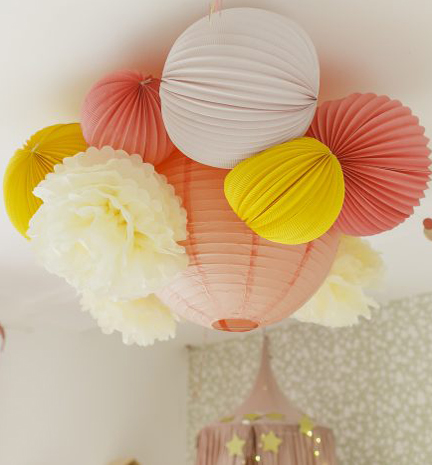
Our lanterns 35cm, 50cm and 66cm can be used as beautiful ceiling lamps that can easily accommodate a 40W maximum bulb being careful to place the bulb in the center of the lantern (you can fix the power cord with the small hook shaped "c" at the top of the metallic structure). A good idea is to attach to a ceiling lamp some additional small lanterns and balls.
You can also add a mini garland of very low intensity LED bulbs to your paper lantern grouping.
A paper lanterns “sky”
You can also create a magical decoration in your kids’ bedroom/playroom by hanging some lanterns and pompoms one by one, directly on the ceiling in a corner of the room. You can buy adhesive hooks specially made to hang a kids’ mobile to the ceiling online or in hardware stores. The safer bet would be to use a few hooks to screw to the ceiling. Use some fishing line or ribbon to hang the lanterns/poms from the hook.
Warning: for safety reasons, we recommend not hanging the lanterns directly over a baby’s crib.
Get inspired !
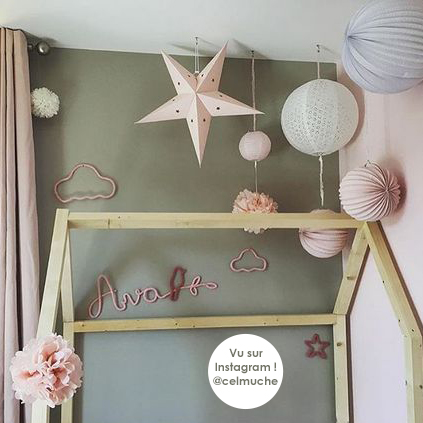
Our clients are oh-so-talented and their pictures could for sure help you find the perfect grouping of paper lanterns for your home. We have more pictures on our Instagram page and blog!
Click on each photo for a list of products used :
And more inspiring images of kids' rooms and nurseries here:
Feel free to reach out to us if you need advice for choosing the right shapes and colors for your own home! We love to help create the perfect look!
.jpg)
